
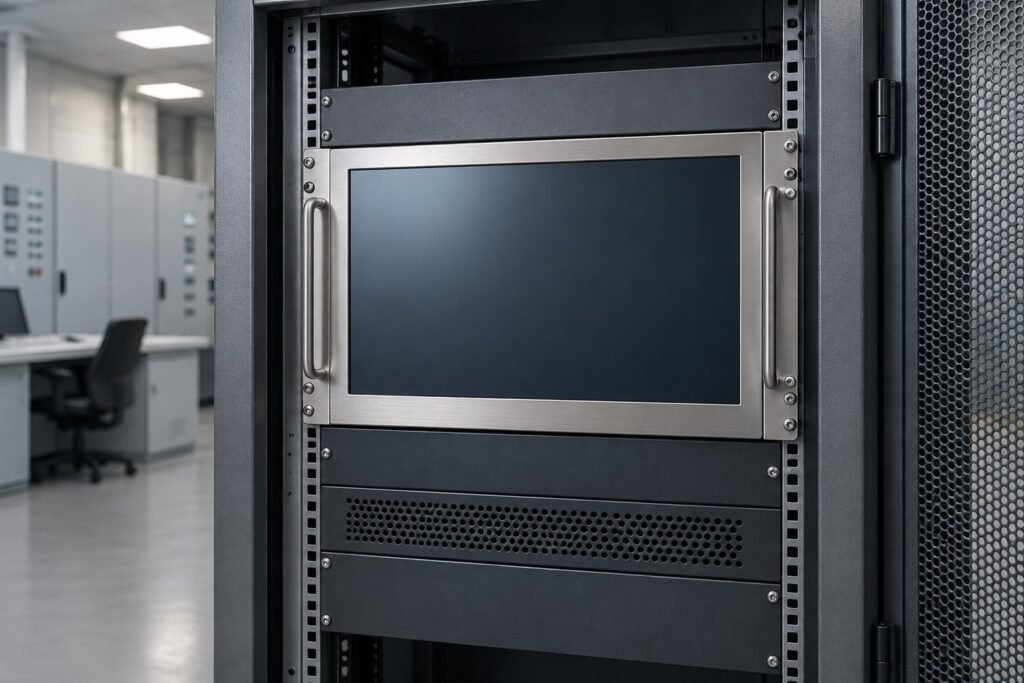
Use this rack mount industrial monitor checklist before you approve a cabinet drawing. The critical questions are mechanical: will the chassis fit the rails, leave enough rear clearance, and remain serviceable after installation?
I’m Ashkan, IronView’s industrial monitor engineer. This guide focuses on rack geometry, thermal clearance and service access as 2026 displays serve control cabinets, server rooms and network-monitoring positions. It does not revisit open-frame selection or touch technology.
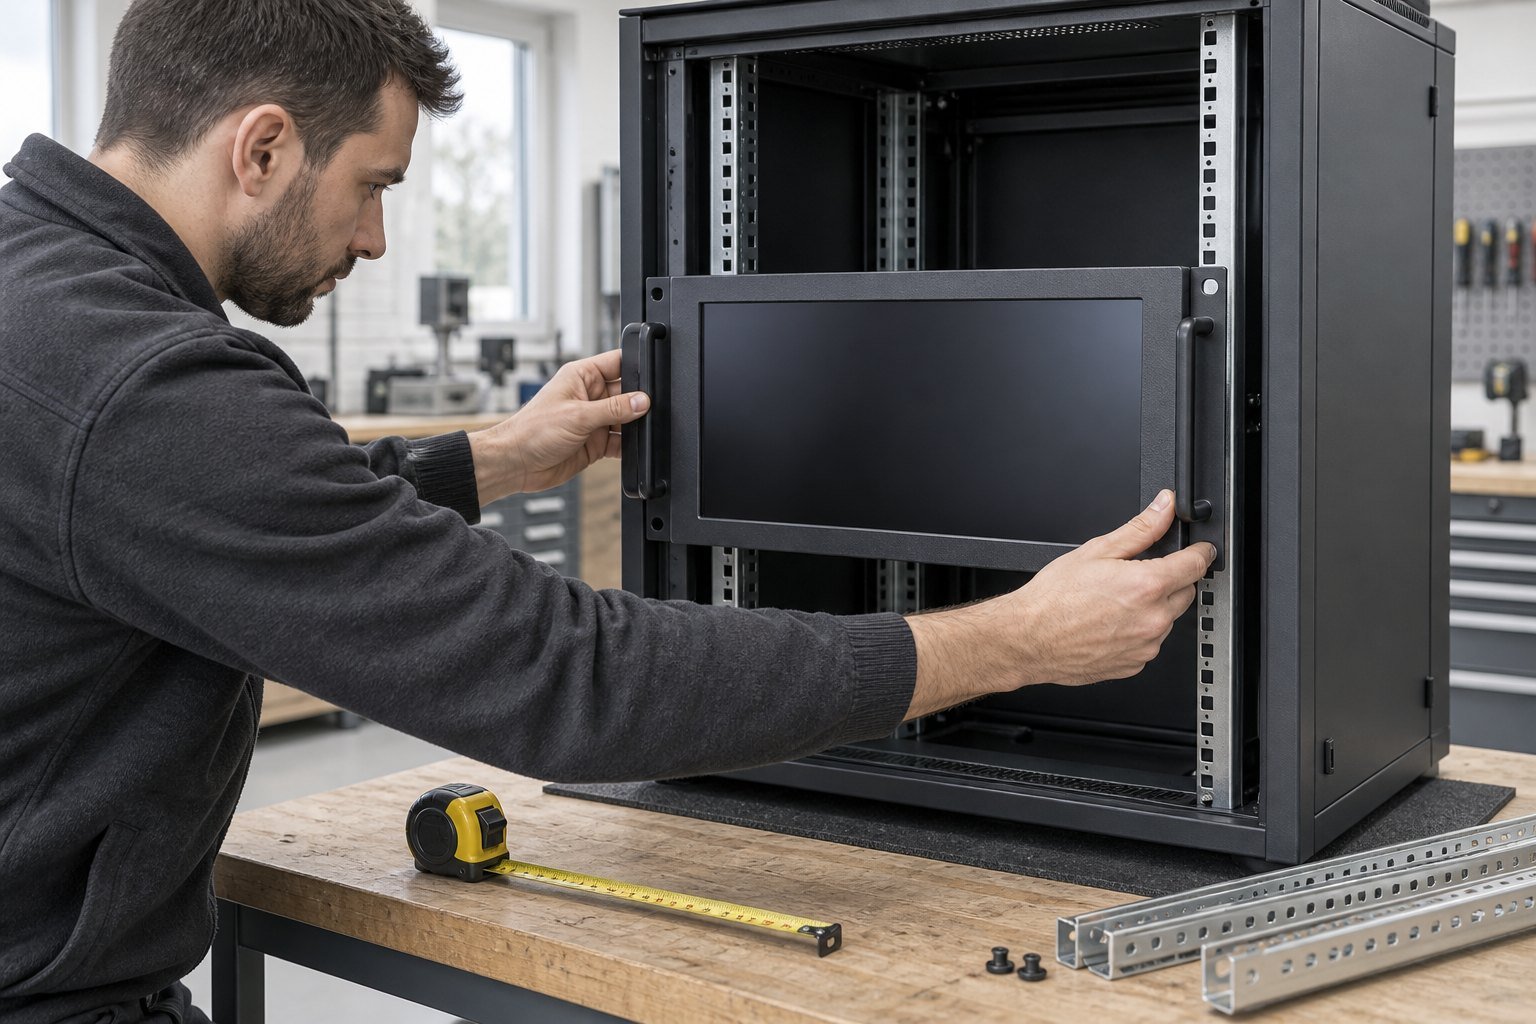
Rack mount industrial monitor fit checklist
Start with the cabinet, not the diagonal measurement. A 19-inch rack defines the rail spacing, while 17.3-inch, 18.5-inch and 19-inch screens describe the visible panel. Those figures do not tell you the bezel width, chassis depth or rack-unit height.
Senke’s August 2026 rack-mount launch specifies EIA-310 compatibility, an all-metal enclosure, front-accessible controls, fanless cooling and operation from -10°C to 60°C. These are useful comparison points, but they do not replace a dimensioned drawing for your cabinet.
- Confirm the cabinet has standard 19-inch EIA-310 rails and record the clear rail-to-rail width.
- Record the available U-height. Treat 1U as 44.45 mm and check the full bezel, brackets and cable exit.
- Measure usable rear depth from the rail face to the first obstruction, not the cabinet’s advertised depth.
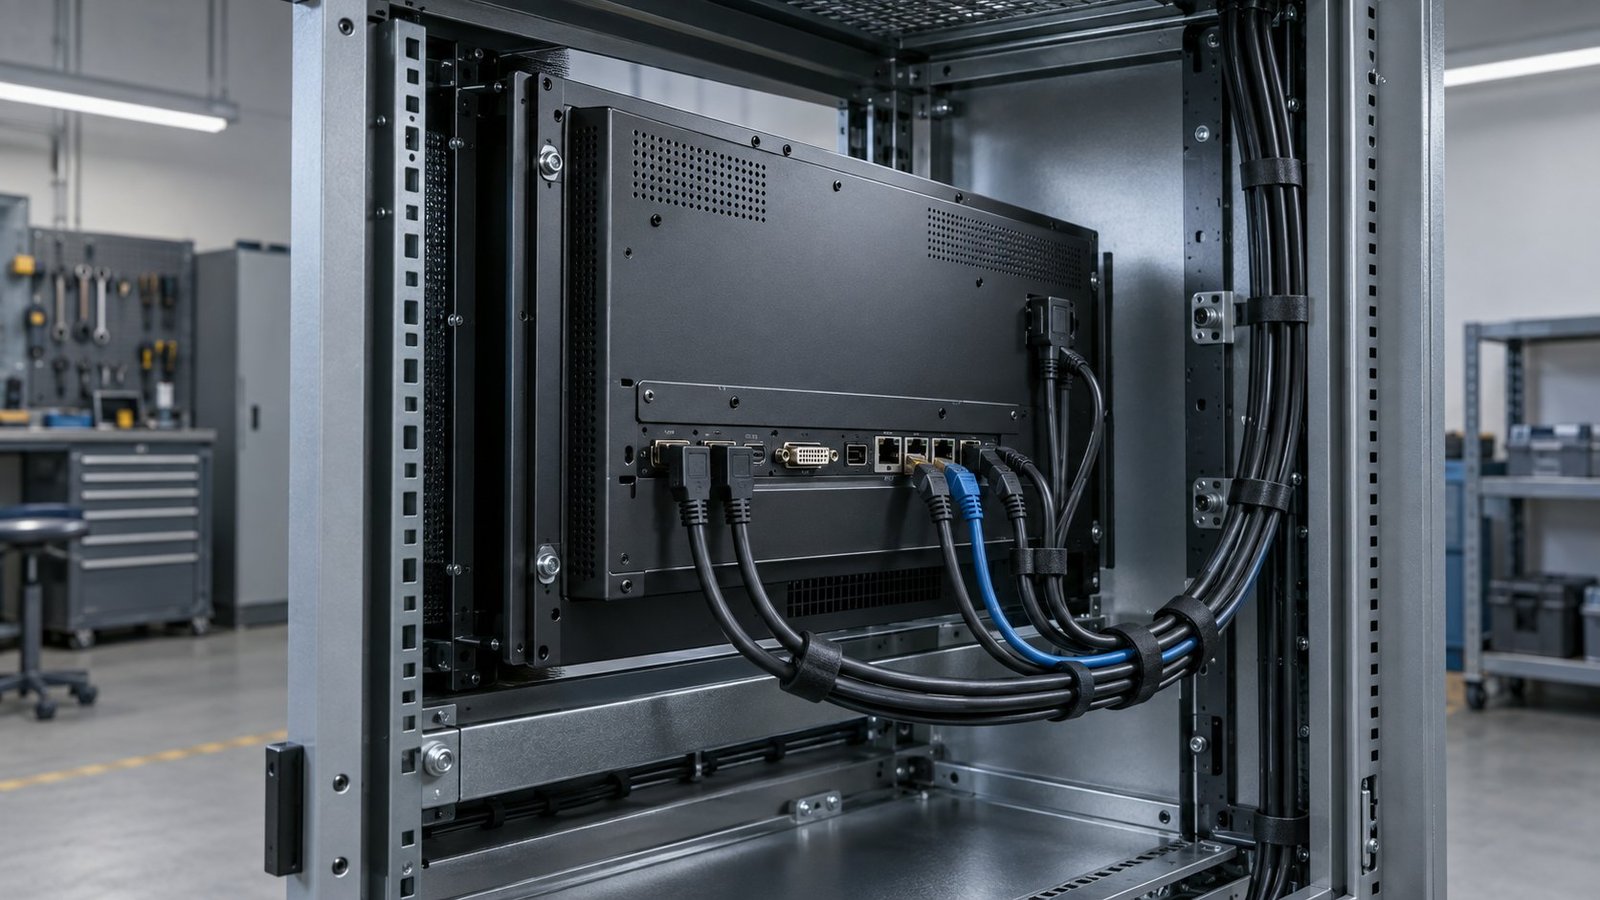
- Reserve the cable bend radius and a 25 mm to 50 mm service loop where space allows.
- Check airflow paths, nearby heat sources and any blanking panels that affect convection.
- Confirm whether controls, USB ports and indicators remain reachable from the front.
- Mark the operator’s touch position and test reach with the cabinet door, gloves and nearby equipment in place.
Ask IronView for exact chassis dimensions, rack-unit height, rear clearance, mounting hardware and photographs or drawings for each model. The correct choice is the unit that fits the complete installation envelope, not simply the largest screen that enters the rack.
See also: Industrial Monitor Applications Across the Plant Floor
Check width, U-height and rear depth
Separate screen size from rack geometry
A 19-inch rack display can still fail a fit check if its bezel overlaps adjacent equipment or its brackets land outside the rail holes. Measure the front face, the fixing centres and the rear body separately. Include handles, captive screws, cable glands and any protruding connectors.
The July 2026 Senke YPC-JD release gives a useful installation signal. Its 15-inch, 17-inch and 19-inch versions are designed for standard 19-inch cabinets without secondary cutting. That reduces fabrication work, but you still need to verify the chosen model’s actual U-height and rear projection.
Draw the rear cable zone
Create a side-view drawing with the rack rail, monitor chassis, connector bodies and cable paths. HDMI, Ethernet, USB and serial connectors can add more depth than the enclosure alone. Use each cable manufacturer’s minimum bend radius. Avoid forcing cables into a sharp turn immediately behind the display.
If the cabinet has a rear door, draw its swing and hinge line. If the display sits beside a switch or power distribution unit, show the service path between them. A rack mount touch screen is only practical when an operator can reach it without leaning across live equipment.
Verify thermal clearance and service access
Fanless cooling removes fan failure and dust-ingestion points, but it does not remove heat. Senke describes fanless heat dissipation through the enclosure and lists a -10°C to 60°C operating range for its August launch. The YPC-JD release also specifies fanless heat dissipation and an IP65 front panel.
Treat those figures as product signals, then ask for the installation conditions behind them. Specify the permitted side, top and rear clearance. Record the ambient temperature at the rack face and the temperature near neighbouring power supplies. Do not bury a fanless chassis against a hot rear panel.
- Leave the manufacturer’s stated clearance around heat-dissipating surfaces.
- Keep cable bundles away from the chassis areas used for passive heat transfer.
- Check whether a closed cabinet door changes the local ambient temperature.
- Make front controls and indicators visible from the normal service position.
- Confirm that the monitor can be removed without dismantling adjacent equipment.
- Request the mounting screw type, thread, bracket thickness and any captive hardware.
Front access matters during fault finding. Senke places the power button, USB ports and indicator lights on the front bezel. Use that arrangement as a check for your own specification: a front port is useful only if the bezel is not blocked by a door, trim panel or neighbouring device.
See also: How to Specify an IP69K Washdown Monitor
Compare the monitor class by installation need
Rack mount industrial monitor or panel PC
Choose a rack mount industrial monitor when the display and its mounting envelope are the main requirement. Choose a panel PC when you also need integrated processing, storage and industrial I/O in the same chassis. That difference affects rear depth, heat output, operating-system support and service procedure.
Senke’s rack-mount panel PC examples combine the display with computing hardware and interfaces such as dual LAN, USB, RS232, RS485 and HDMI. If your project only needs a video endpoint, compare the unused computing hardware against the extra depth and thermal load it introduces.
Industrial rack display or broadcast monitor
A broadcast-style industrial rack display may prioritise signal variety over cabinet durability. Atomos’ September 2026 Shogun AV-19M shows continued demand for 19-inch rack displays with mixed HDMI, SDI and network monitoring. It is a broadcast product, not an industrial monitor, so check its enclosure, temperature range, front protection and service assumptions separately.
For an industrial rack display, decide which interfaces your line actually needs. Do not accept a broadcast connector set as proof of EIA-310 fit, fanless operation or front-panel protection. Compare the full mechanical drawing and the rear cable zone before comparing input counts.
Complete the fit worksheet before requesting a quote
Use a short worksheet for every candidate. Record the values from the cabinet drawing and the monitor drawing in the same units. Flag any value that is estimated. A quote should resolve unknowns before fabrication starts.
- Cabinet standard: EIA-310 confirmed or not confirmed.
- Rail width: ____ mm.
- Available height: ____ U / ____ mm.
- Maximum chassis depth: ____ mm.
- Required rear cable clearance: ____ mm.
- Cable bend radius and service loop: ____ mm.
- Ambient temperature at the display: ____°C.
- Touch point height and reach distance: ____ mm.
- Front-door, bezel and connector clearance: ____ mm.
- Mounting hardware required: ____________________.
- Drawing or photograph supplied: yes / no.
For IronView’s 17.3-inch, 18.5-inch and 19-inch industrial monitors, request the exact chassis outline, rack-unit height, rear clearance and fixing details for the selected configuration. Ask for a front photograph and a rear drawing when cable access is tight. Those documents let your mechanical engineer approve the installation with evidence.
FAQ
Does a 19-inch screen automatically fit a 19-inch rack?
No. Screen diagonal does not define bezel width, fixing centres, U-height or rear depth. Confirm the complete chassis drawing against the EIA-310 rail layout.
Is fanless cooling enough for a closed cabinet?
No. Fanless designs still need their specified heat-transfer surfaces and ambient conditions. Check clearance, nearby heat sources and the cabinet’s closed-door temperature.
What should you request with an industrial rack display quote?
Request chassis dimensions, U-height, rear clearance, mounting hardware, connector layout, operating temperature and front photographs or drawings. Include your cabinet depth and cable plan.
Specify your rack mount industrial monitor with evidence
A reliable rack decision starts with measured geometry. Confirm width, U-height, rear depth, cable bend radius, ventilation and touch reach before you compare display features. Then match the specification to IronView’s 17.3-inch, 18.5-inch and 19-inch range through IronView’s rack mount industrial monitor range.
Send your cabinet drawing, clearance figures and worksheet to IronView for a rack-fit quote →


